If you are running a Linux development (or even Mac or Windows) machine as I am, you might have noticed that your node version is quite outdated at times. The official dependency channels are usually several versions behind the latest version. Here, I show how I use NVM to keep it up to date.
How to find out which version of node I'm running #
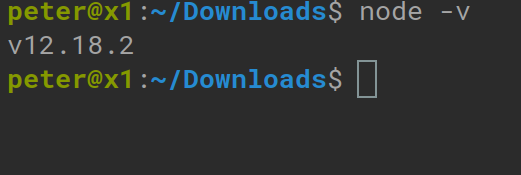
To see which node version you are using you can simply run:
node -von your console. This will show you the latest version. For my machine, at the time of writing, it looks like this:

Time to meet: nvm #
NVM is a version manager for node. It's an open-source package that allows you to switch the node version on your development machine easily without installing packages manually every time.
You can install it easily using one of the commands on the GitHub repo.
After the installation you can install node versions using:
nvm install 12.18.2and use it with:
nvm use 12.18.2Avoid bash to fall back onto the system-node #
If you are opening a new terminal, your system will automatically reload the system-installed node version. To avoid this and run automatically on the latest node version, you can instruct nvm to always use the latest stable version:
nvm alias default nodeDone! #
Ten minutes' work to install nvm can save you from constant issues and time-drain maintaining it manually. Get it done and forget about it. Also, don't forget to like this post and subscribe to my newsletter here on the blog.
🙏🙏🙏
Since you've made it this far, sharing this article on your favorite social media network would be highly appreciated 💖! For feedback, please ping me on Twitter.
Published