Ensuring you are regularly backing your project database and assets up can be a dreadful task. At the same time it is a perfect task to automate. The following five minute tutorial provides you with all steps needed to back up your project to Backblaze's B2 storage. B2 is a service similar to the Amazon product AWS S3. The main difference is the price: B2 offers unlimited storage for a few dollars a month.
Requirements #
As usual you will need a few things before getting started:
- An account with Backblaze or a credit card to register an account.
- A Laravel project with access to the code base as well as the environment configuration
Once you have these can get started with the seven steps below.
Steps #
- First step is to install the dependencies:
composer require spatie/laravel-backup bringyourownideas/laravel-backblazeand add the BackblazeServiceProvider to your "config/app.php" file:
\bringyourownideas\Backblaze\BackblazeServiceProvider::class,- Publish the spatie default backup configuration:
php artisan vendor:publish --provider="Spatie\Backup\BackupServiceProvider" --tag=configIt pays to check the config/backup.php file for more detailed configuration of the backup.
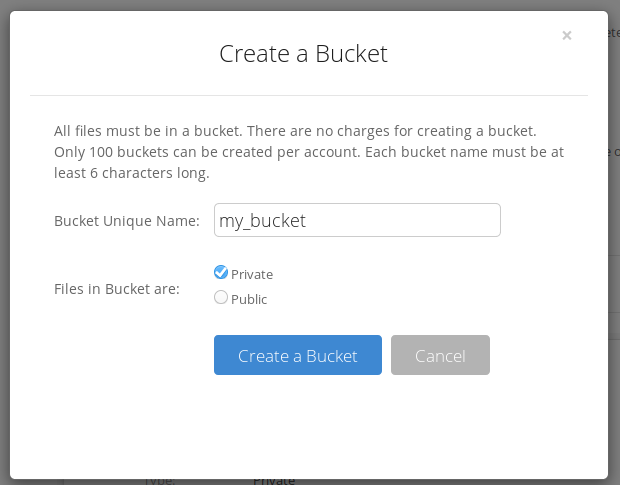
- Head over to Backblaze, log in and create a private bucket:

Please note: the bucket name needs to globally unique in the B2 systems. You might need to get a little creative to find one.
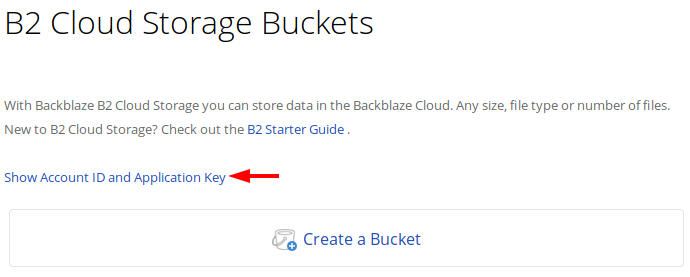
- Get the Backblaze API keys:

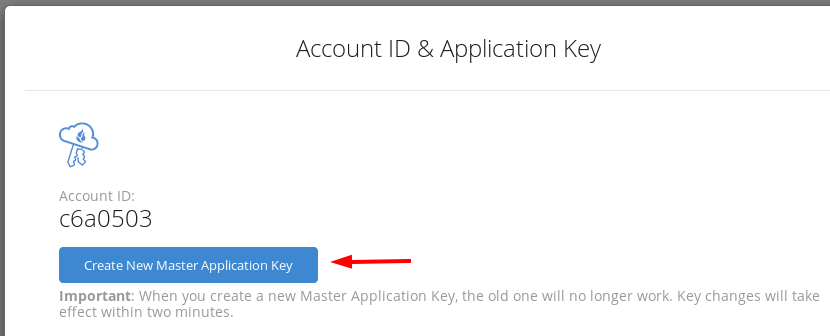
and click the "Create New Master Application Key" button:

- Add the bucket name as well as account id and application key to your .env file:
# B2 Bucket configuration for backups
B2_BUCKET='my_backups'
B2_ACCOUNTID='abcdefghijk'
B2_APPLICATIONKEY='1234abcd1234abcd1234abcd1234abcd'- Add the filesystem to the "config/filesystems.php":
'b2' => [
    'driver'         => 'b2',
    'bucketName'     => env('B2_BUCKET'),
    'accountId'      => env('B2_ACCOUNTID'),
    'applicationKey' => env('B2_APPLICATIONKEY'),
],
Once the filesystem is known to Laravel, go back to your config/backup.php-file and update the keys
- 'backup' -> 'destination' -> 'disks' and
- 'backup' => first entry of 'monitor_backups' => 'disks'
to your new filesystem 'b2'.
- Define your schedule in the "app/Console/Kernel.php" file:
/**
 * Define the application's command schedule.
 *
 * @param \Illuminate\Console\Scheduling\Schedule $schedule
 * @return void
 */
protected function schedule(Schedule $schedule)
{
    $schedule->command('backup:clean')->daily()->at('02:00');
    $schedule->command('backup:run')->daily()->at('02:30');
}
If you are running a number of applications it is recommended to offset the times to avoid high load on the server.
That's it. #
Congratulations, now your project should be configured to be backups every night at 2:30 am.
You can test the backups by running this command:
php artisan backup:run
After the backup you should be able list all backups:
php artisan backup:list
If you are testing this locally you will need to configure your local environment similar to the production environment of course.
Acknowledgements #
Special thanks to Paul Olthof, who has written the first version of the adapter. We have fixed some issues to ensure it's working correctly.
🙏🙏🙏
Since you've made it this far, sharing this article on your favorite social media network would be highly appreciated 💖! For feedback, please ping me on Twitter.
Published